If you remember the post glue gun storage, I said that I was going to be making washi tape storage that would coordinate with it.
It took me a while to get back to it but I finally got back to it. This is what I needed for my washi tape storage:

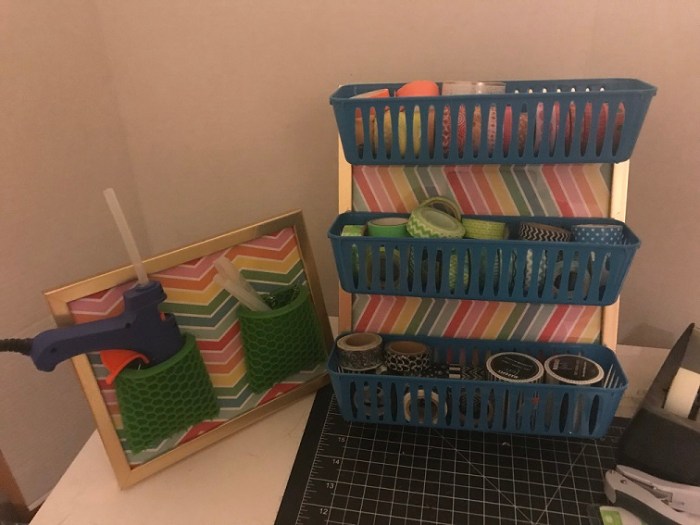
(You can see the glue gun storage in the background.)
- 8×10 picture frames
- Rule
- Utility knife
- Set of three storage baskets, blue
- Small easel
- Double-sided tape
- Glue gun and glue sticks
- Craft paper (same as I used for the glue gun storage)
The first thing I did was take apart the picture frame.
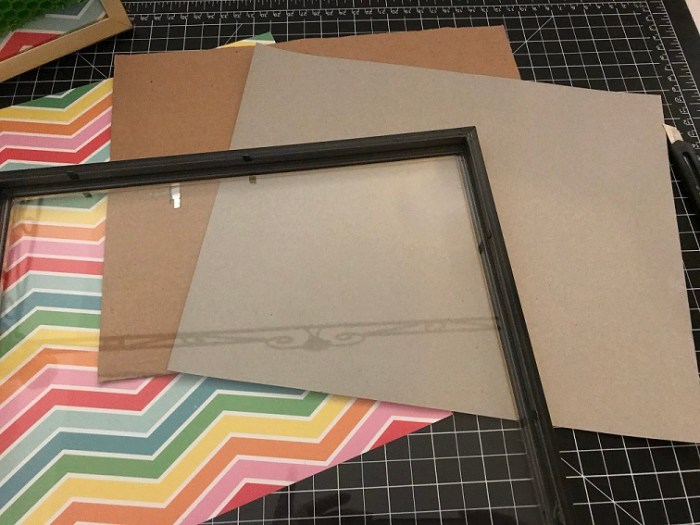
I used the back piece to measure the background paper. So that the cuts were very clean, I used the utility knife.
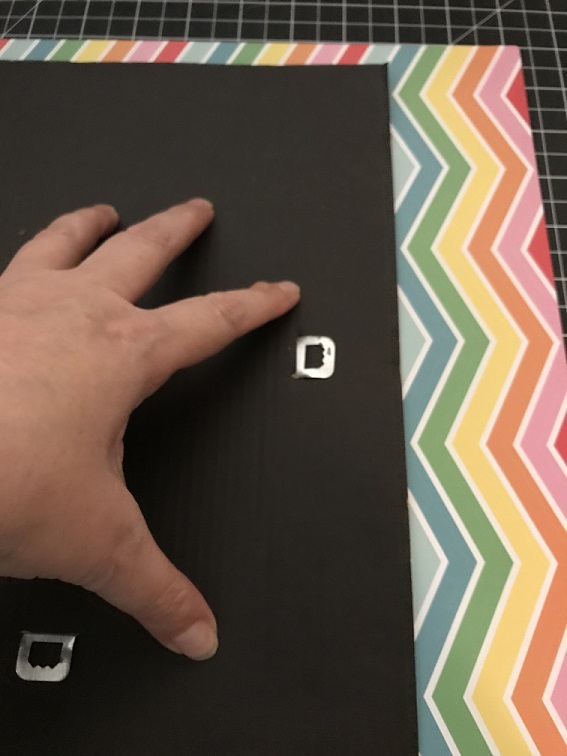
put double-sided tape all over the back of the paper to adhere it to the back of the picture frame, like I did for the glue gun storage.

I put the picture frame back together, using the glass but not the ‘picture’ that comes with the frame. I used the glass so I’d have something to glue the baskets to. Then I ran a line of hot glue around the back to make sure the back didn’t fall out.
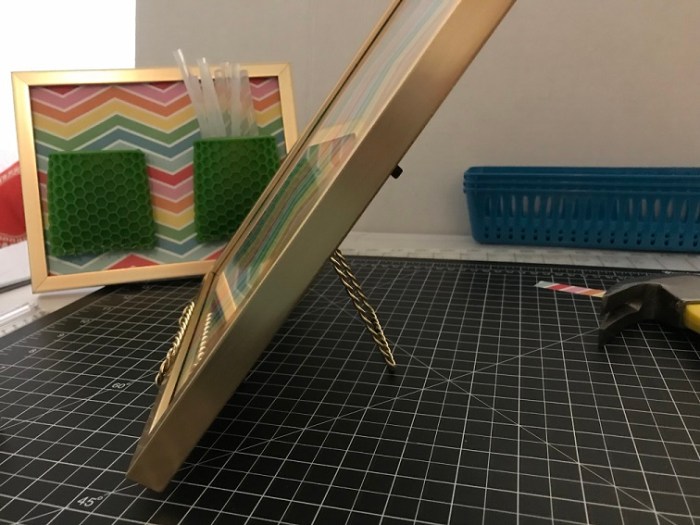
I put the picture frame in the easel just to see what it would look like. Thankfully, I did because it pointed out a few things.

As you can see, the picture frame leans back pretty far. I don’t like the look of this. I don’t like it one little bit. I have to find a way to get to sit more upright.
I’d planned on gluing the first basket on the bottom of the frame.
Welllllll, that’s not going to work because the bottom of the frame is inside the easel. Time to rethink the basket placement.
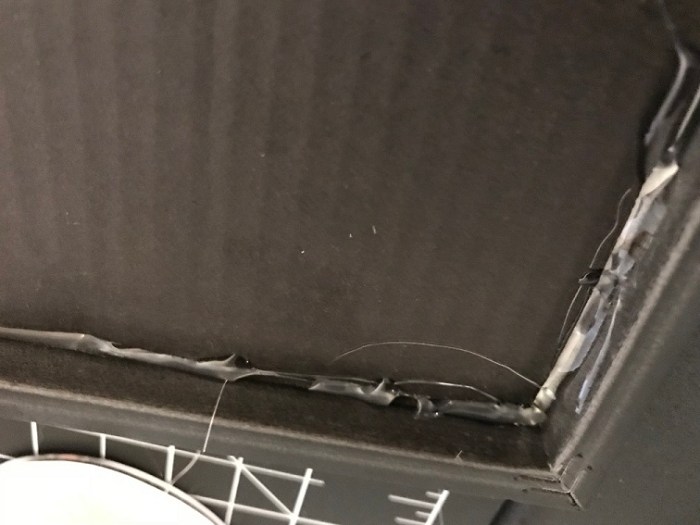
I don’t know if you can see it in this picture very well but the front part of the easel was wonky. While one side of the front brace rested on the table, the other side did not. UGH! Why didn’t I check that before putting in my basket? Or maybe I did and it got bent while it was in the bag…who knows. But now I have a problem to solve.

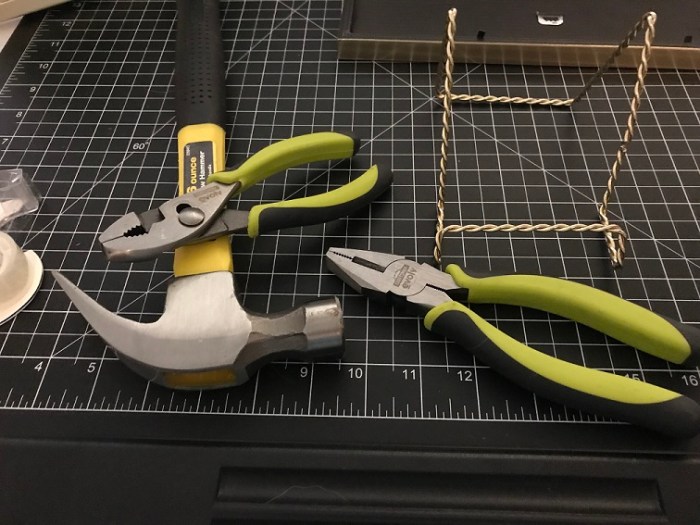
So, I got out the tools and started pounding and twisting and squeezing. It got a little better, enough that I’m good with it.
I still need to make it sit more upright…thinking….thinking. But at least it is sitting flat against the table.
After doing a lot of thinking, I located a small piece foam. It wasn’t ever thick but I thought it was big enough to cut in half. I the first half to the back of the frame and then glued the second half to it. I’m concerned that it won’t be thick enough to make a big enough difference but we’ll give it a try.


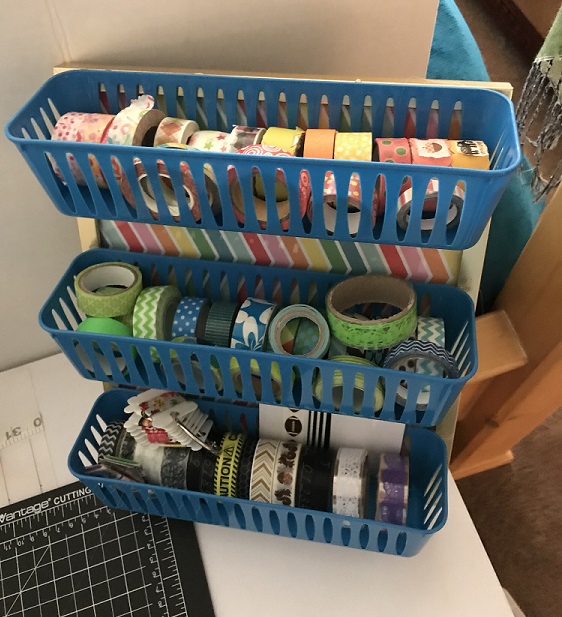
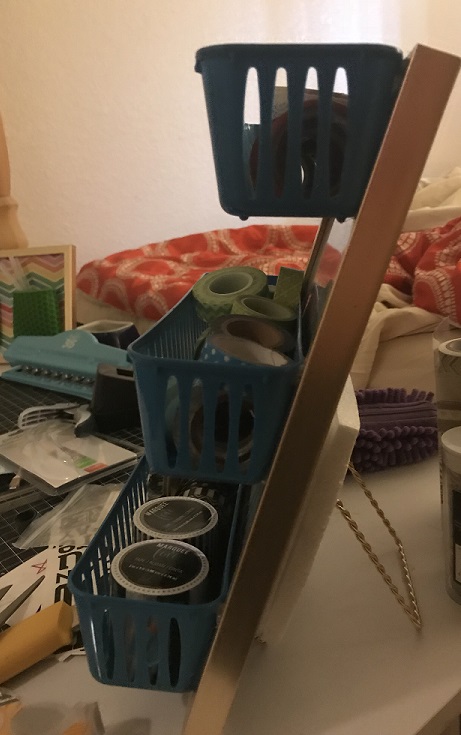
I then glue the baskets to the frame. I forgot to take pictures of the whole process…of course. But here is a picture of all them already on. I tried to put enough space between each basket so that I could easily get the rolls of washi tape in and out. I think it looks pretty nice.
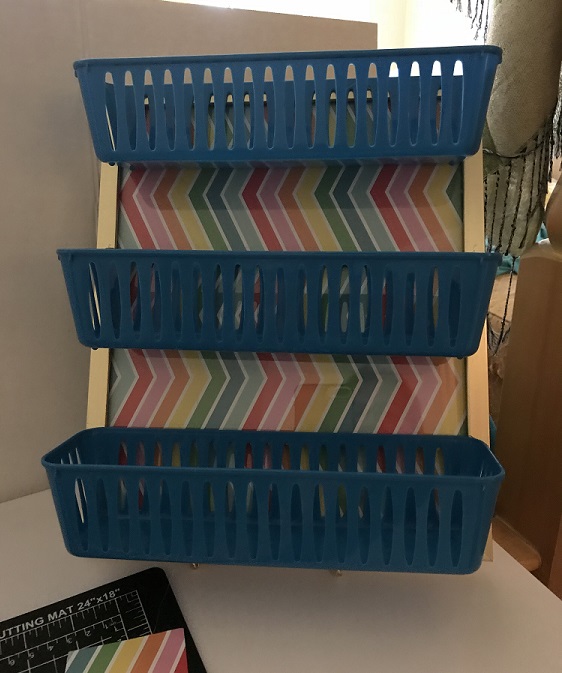
This is what it looks like with all my washi tape in it. I tried to group them by color, starting with the lighter ones on the top row and the black/brown ones in the bottom basket.

I didn’t get a picture of the angle of the frame but I think it still leans back to far. I need to find something else to glue to the back to make it stand up straighter.

Thinking…Thinking…Thinking
Update
I found something to add to the back of the frame so it will stand up straighter. It’s a piece of Styrofoam.
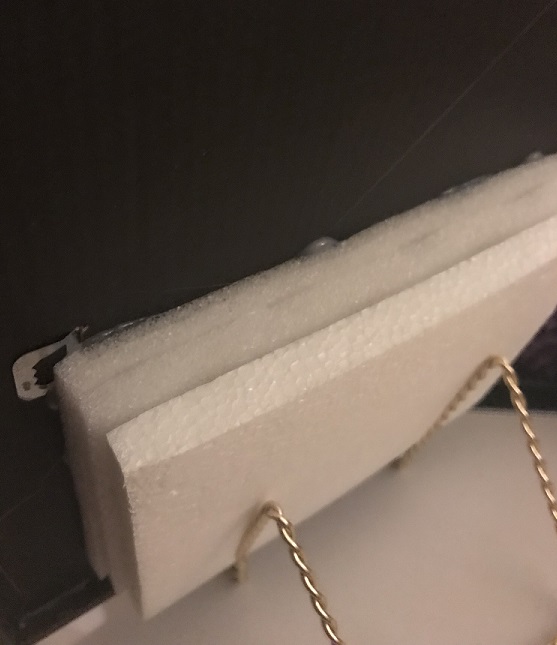
After gluing it to the back, the storage stands up pretty nicely. I’m really loving this now.
And finally, here’s a picture of the glue gun storage next to the washi storage. I think they look nice together. 🙂 However, I just noticed that the top basket is a little crooked…I’m going to have fix it fairly soon because it will drive me nuts until I do.