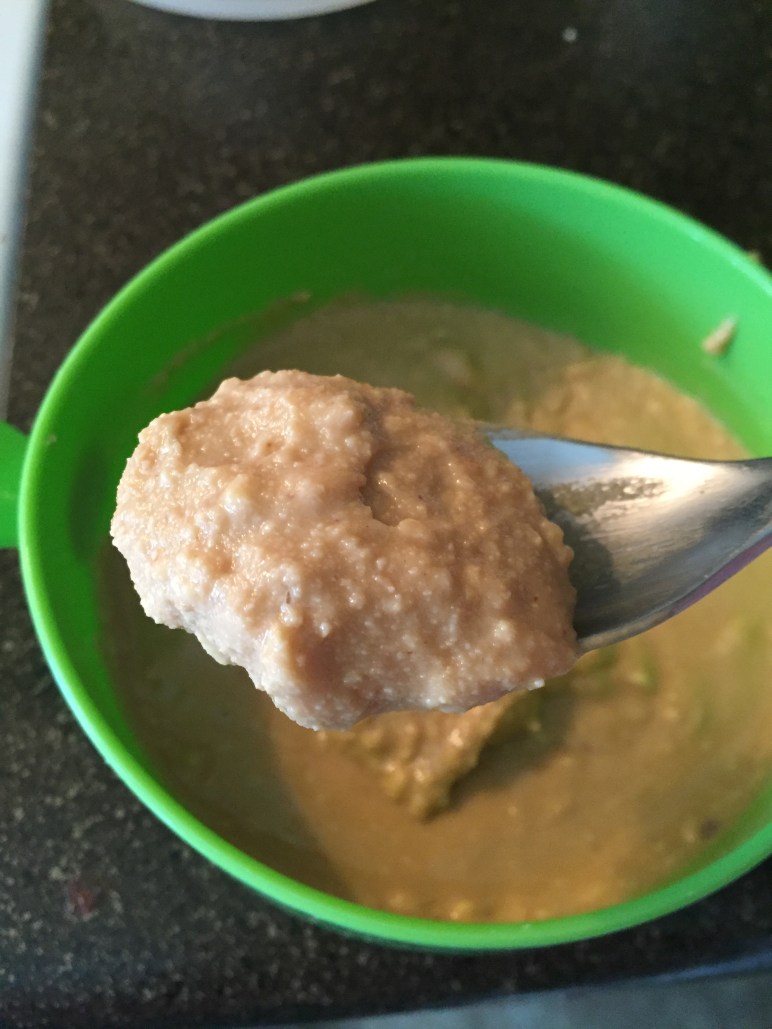
Best Dog Treats Ever – Asparagus Jerky!

Hey Peg!

I just made the cheapest, tasty dog treats ever. Rufus loves them and they are made from scraps!

You know how crazy I am about pet food. It has to nutritious, tasty and, for Mom, cheap. Well, I found it. Asparagus Jerky! Let me ‘splain.

Remember how Pete’s cancer at 5 and death at 10 put me on a mission to keep Poncho healthy? I spent 2 years making his food from venison, brown rice and asparagus or broccoli.  I found that Poncho loved, loved, loved asparagus. He only “liked” broccoli. Anyway, it was a lot of work and it was hard to make sure that I had time. I stopped doing it, but I never stopped 1 thing. I still saved the stem ends of the asparagus to treat him when I was cooking. Don’t know if it made a difference, cancer got him too. But, he stayed with me for almost 17 years.

The other day, I was making dinner, breaking off the ends of the asparagus, and setting them aside for Rufus. I don’t like to give him more than 1 or 2 as treats per day (who wants to risk the “runs”?), so there are always more ends than he needs. Then it struck me; why not make jerky?! Why not cut them into smaller pieces and dry them in the NuWave oven. I even used the whitish, really tough stalks ends. No oil or flavorings. He loves them!

Now instead of him getting into the garbage, I’m feeding him the garbage and he thinks it’s great!

Here’s how I made Asparagus Jerky:

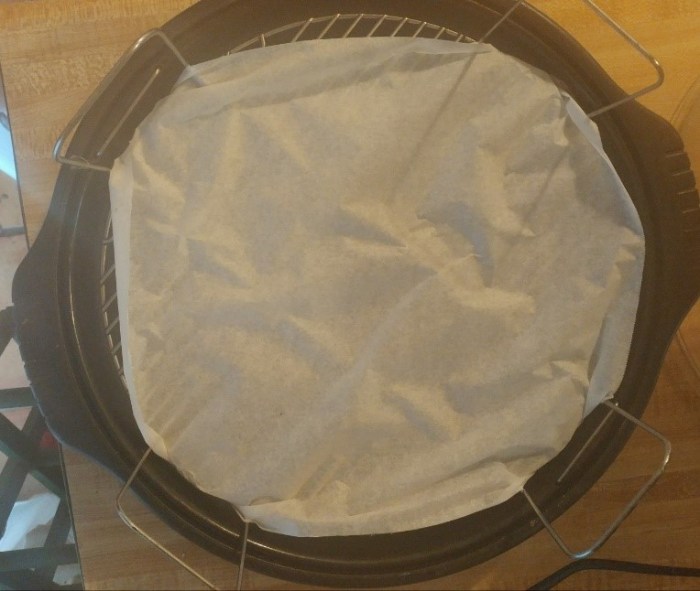
I put some parchment paper on the grill of the NuWave. I didn’t use any oil or spray because I wasn’t planning on adding any flavor later.

Asparagus Jerky 1

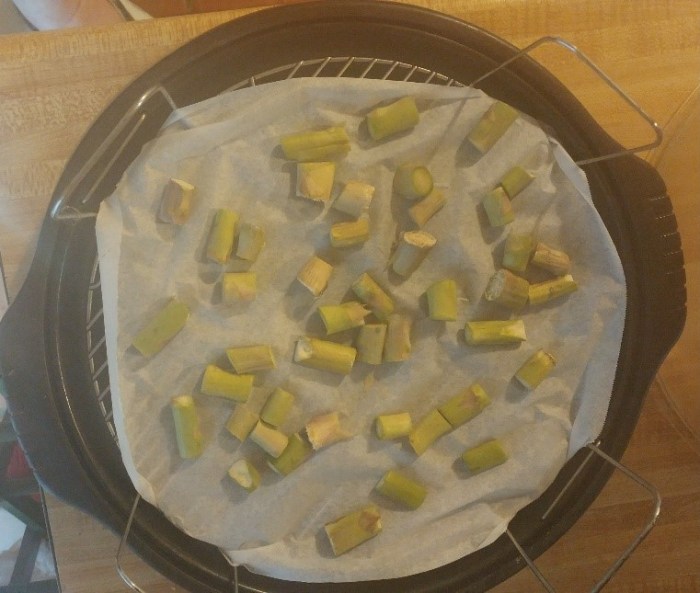
I broke off the ends to the asparagus we’d had for dinner and cut the pieces down to about 1 inch.

I set the NuWave to 175 degrees. Since I know you don’t have a NuWave, use the same temperature for your conventional oven.

Then, I spread the end pieces out on the grate.

Asparagus Jerky 2

Finally, I set the timer for 1 ½ hours and walked away.

When they’re done, they will be really shriveled and not pretty.

I let them cook down before placing them in a paper bag. I learned the hard way not to place them in a plastic container because they got soggy-ish. The paper bag lets them continue to dry out without getting moldy.

Asparagus Jerky 3

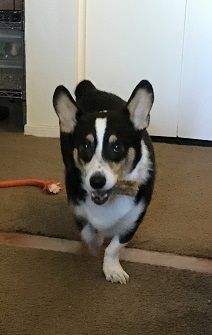
I know they don’t look like much, but every time Rufus goes out and does his business, he gets one of these. He loves his “Sparaguses”!

First Chewy.com Order

You know, I’ve been hearing about Chewy.com for a while now. I never really paid much attention to it because I buy my dog food at Costco and Cian gets his heartworm shot at Banfield (though PetSmart).

If Cian needs something (I want to buy him something), I go to the PetSmart across the street or Petsmart.com. I buy everything for JT, my hamster, on Amazon. So chewy.com didn’t spark anything for me.

But I needed to buy Cian some flea and tick medication. I looked on Amazon but everything was in the $30-$60 range, and I really didn’t want to pay that much if I didn’t have to.

After thinking it about it for a while, I remembered Chewy and figured I’d give them a try.

The first thing I looked for was the flea and tick stuff. I was able to find a 3-month supply of PetAmour Plus. I did research it and it has the same active ingredients and basically the same rating as Frontline for a whole lot less. We don’t have much of a flea and tick problem in southern Arizona, so I’ll be interested to see how it works.

IMG_9347

So, with chewy.com you get free shipping on any order over $49.99. I decided that was just a little too much to order since I hadn’t ordered from them before. But I did want to order a few things to see what their products were like. So, I ended up purchasing 5 different types of treats.

First was a beef trachea. I contemplated whether or not to buy something that sounded so disgusting but went for it.

IMG_9346

I decided this would be the first thing I gave him. I unwrapped it. It felt very odd: greasy, slimy, papery. Basically it was DISGUSTING!!

IMG_9349

Cian smelled it the minute I unwrapped it and started bugging me for it. I gave it to and he took off with it. I wanted to get a picture of him with it but he was having none of that! He really did not want to get close to me and give me the opportunity to take it back.

IMG_9352

I was finally able to get a picture of him when he laid down on his blanket to really start eating it up. He always eats all his really “special” treats on his blanket. But I had to stand across the room from him and zoom in, which did not provide for the best resolution. But as you can see, he was really into it!

IMG_9360

He enjoyed his treat so much that after he finished, he had to take a nice long nap at my feet.

IMG_9361

I also bought him Crunch Kale Treats from Wet Noses. This was the second treat I tried. I was worried about whether or not he would like them because, even though I know kale is a super food, I think it tastes like dirt. He gobbled right up. Then I remembered…he eats dirt all the time. So kale would probably just taste like things he eats every day. Besides being made with kale, I also liked that they were grain free, organic, and non-GMO.

IMG_9340

Then I ordered two different flavors baked dog treats from American Journey: turkey and lamb. These were also grain free, the protein was the first ingredient, had no by-products or artificial preservatives, and with a lot of fruits and vegetables. He’s only tried the turkey so far but he really likes them.


The last thing I ordered was a beef marrow bone. So far I’ve held this back. He’ll get this on a special occasion. Grandma is coming in a few weeks, that might be the special occasion that calls for a nice bone full of marrow.

Overall, I liked my experience ordering from Chewy.com and I’ll definitely order from them again.

Peanut Butter – Take 2

As I’ve said before, I really love peanut butter. However, I decided to stop buying process peanut butter (goodbye Skippy) that contained way too much sugar and salt. Well, actually my daughter made that decision for me.

My first attempt at making peanut butter turned out pretty good. The flavor was excellent but the texture wasn’t what I was looking for. When I add the last ¼ cup of peanuts to make it chunky, it added chunks as well as peanut dust. So, it was grainy. Now, I don’t know if you’ve very had grainy peanut butter but it leaves a whole lot to be desired. I mean, I ate it but it was a little like eating really good tasting mud pie or sand from the sandbox.

I decided that it was time to try again and see if I could make some really great tasting, super-duper, chunky peanut butter. I also decided I would do a much better job timing how long it took to get the smooth consistency I wanted and taking pictures as I went along.

Again, I was totally surprised by how loud it was. It is really, really loud! Cian made his objections heard over the food processor. Lord have mercy!! I am really going to have to get ear plugs or something.

As you can see, it goes through a number of stages. I missed the photo of when it turned into a little dough ball. I didn’t remember it doing that the first time and just thought, “Crap! I’ve screwed it up. What did I do wrong?” But I figured I had nothing to lose by letting it run a little longer and, wa-lah, it loosened up again and started to look like peanut butter again, instead of a hot mess.

pb06 1 minute

pb09 2 1/2 minutes

pb12 Approximately 4 minutes

pb14 5 minutes

Then to get super chunky peanut but without the grainy texture, I decided to remove the smooth peanut butter from the food processor before making the chunks. I thought I would have to put the peanut chunks through a sieve to get rid of the dust. But I didn’t have to.

As you can see, all of the dust stuck to the residue left in the bowl. This left me with some nice chunks to add to my smooth mixture. To be on the safe side, I still poured them into the sieve. I really DID NOT want to have grainy peanut butter again.

pb16 The super-duper chunks.

pb18 Adding the chunks.

I thought I was all done. I took a little taste and it became very clear I had forgotten something. I quickly stirred in a scant ¼ teaspoon of my super fine pink Himalayan salt and a scant ¼ teaspoon of stevia.

I now have great tasting super chunky peanut butter with the perfect texture! I’ve added the updated recipe below.

pb20

I was already to make myself a PB&J (organic red raspberry preserves) and discovered I was out of bread. No peanut butter sandwich for me. I am greatly disappointed. I am going to have to postpone my pleasure until later.

Super Duper Homemade Chunky Peanut Butter

Ingredients

  • 1 ¼ cup unsalted, roasted peanuts, separated
  • ¼ tsp finely ground salt, or to taste (I used pink Himalayan salt)
  • ¼ tsp stevia, or to taste

Directions

  1. Place 1 cup of peanuts in bowl of food processor.
  2. Grind peanuts until smooth. This could take approximately 5 minutes, so be patient.
  3. Add salt & stevia and pulse to combine.
  4. Remove peanut butter from food processor bowl.
  5. Add remaining ¼ cup of peanuts to food processor.
  6. Pulse until you receive the desired chunk size.
  7. Place peanut chunks in fine mesh sieve to separate peanut dust from chunks.
  8. Add chunks to smooth peanut butter and stir to combine.


I Love Peanut Butter

I love peanut butter. I mean, really love it! And it has to be the extra chunky version.

I used to buy the package of two Skippy Extra Chunky at Costco every couple of months. And I’m the only one eating it! I almost consider that an addiction.

However, late last year I had a little run in with skin cancer. My daughter, who is very much into healthy eating and healthy living, decided that I needed to remove as many chemicals from my house and my food as possible. Unfortunately for my peanut butter addiction, she considers refined sugar to be one of those chemicals I needed to remove from my diet. (Depression ensues…)

There aren’t any grocery stores really close to me with a nut grinder so I can grind my own peanut butter. And the all-natural, organic, sugarless brands are just too expense for my budget.

I finally broke down and decided to try to make my own peanut butter. I read a lot of recipes and blog posts to see exactly what I could expect. It didn’t seem that hard. I mean, I have a decent food processor. I should be able to do this, right? And the answer is, Yes. This is a big step for me since I’ve always been the ‘buy frozen pierogis’ type of cook.

While my daughter and I were at Costco (the reason I couldn’t just buy the Skippy and not tell her), I decided I’d buy the peanuts there but they didn’t have any that weren’t already salted (and salt is also now on my banned list). So, I went to my second favorite retailer, Amazon. I found a 5-pound bad of unsalted peanuts. And with Prime, I received them in just two days.

pb01


I put one cup of peanuts in the food processor bowl and turned the thing on. Man, it was loud. I mean, really, ‘I need ear protectors’ loud. Cian, my 18 month Pembroke Welsh corgi, had a fit. His barking just added to the noise level.

I should have taken more pictures, but I didn’t think about it until after I was done, of the entire process. I’ll do it next time.

After about a minute, I just had a bunch of chunks. At two minutes, I had chunks and peanut dust. It seemed to stay that way for a few minutes. I started to get worried that it would never turn into peanut butter.

But all of sudden, I noticed that it started to get stripes of a darker brown. The stripes got wider and wider…and then it happened! It turned into peanut butter!

The first time I checked it, it was really just too grainy. I decided to turn it back on. I mean, what did I have to lose? There was no way I was eating that grainy stuff.

In another minute or two, I checked it again, and it was really smooth. But as I said, I love the extra chunky peanut butter. I decided to add another quarter cup of peanuts and pulse them to get a few chunks. That didn’t work out very well. I not only got chunks but the dreaded grainy dust.

After tasting it, I added just a dash or two of pink sea salt and a quarter teaspoon of stevia as a sweetener.

This batch tastes pretty darn good. However, I think the next time I make peanut butter, I’ll made the chunks separately, shift out the dust, and then stir them into the smooth.

Stay tuned and I’ll let you know how that turns out.

pb04

Homemade Peanut Butter

Ingredients

  • 1 ¼ cup unsalted, roasted peanuts, separated
  • 2 dashes Sea salt, or to taste
  • ¼ tsp stevia, or to taste


Directions

  1. Place 1 cup of peanuts in bowl of food processor.
  2. Grind peanuts until smooth. This could take a few minutes, so be patient.
  3. Remove peanut butter from food processor bowl.
  4. Add remaining ¼ cup of peanuts to food processor.
  5. Pulse until you receive the desired chunk size.
  6. Place peanut chunks in fine mesh sieve to separate peanut dust from chunks.
  7. Add chunks to smooth peanut butter and stir to combine.